Ideas for Photographing Cats in Outdoor Settings

Beginner

People love looking at cat photos. And now that you’ve got a dedicated camera, you’re probably looking forward to taking even better cat photos than before! Here are some ideas to try outdoors, whether you are photographing friendly strays, your own pet, or maybe even a friend’s.

Snapshot

Published on 6 March 2026 Updated on 11 March 2026

Reading Time 5 minutes

  • 1
  • 0
  • 0

1. The cat’s eye view

EOS R8/ RF50mm f/1.8 STM/ FL: 50mm/ Manual exposure (f/1.8, 1/400 sec)/ ISO 640

Many people’s first instinct when they see a cat is to snap a photo of it from where they are—standing up. The resulting high angle shot, where you’re looking down at the cat, feels more distant. The next time you catch yourself doing that, go lower until your camera is at the cat’s eye level. You’ll find yourself face to face with the cat: instant connection!

A large aperture lens like the RF50mm f/1.8 STM or RF45mm f/1.2 STM easily turns busy backgrounds into buttery bokeh so all attention is on the cat only.


EOS R8/ RF50mm f/1.8 STM/ FL: 50mm/ Manual exposure (f/3.2, 1/800 sec)/ ISO 200

The “cat’s eye view” level also gives you a front row perspective for observing a cat’s antics and expressions.

tip

Communication tip

Don’t stare

Prolonged eye to eye contact can be interpreted as aggression. Blink slowly, or watch the cat through your camera’s LCD screen.

tip

Gear tip #1

Flip out your rear screen

Here’s one thing nearly all Canon cameras have that a smartphone doesn’t: an LCD screen you can flip out and rotate. This makes shooting from low positions so much easier!

2. The wide-angle close up

EOS R6 Mark II/ RF14-35mm f/4L IS USM/ FL: 22mm/ Manual exposure (f/4.5/ 1/640 sec)/ ISO 500

If the cat’s comfortable with you being very close to it, try using a wider angle and shooting closer. This will allow you to achieve a portrait that’s more immersive, like the one above where the cat looks like it’s about to jump onto you!

Simply zooming in wouldn’t give the same effect as being closer, because the background and sense of perspective would look different.

tip

Gear tip #2

Enable the silent shutter function

The silent shutter function lets you shoot quietly so you don’t startle cats that are sensitive to noise.

3. Make kitty glow with the rim light effect

EOS R6 Mark II/ RF15-35mm f/2.8L IS USM/ FL: 15mm/ Manual exposure (f/2.8/ 1/800 sec)/ ISO 500

Front lighting, where the sun shines on the cat from behind you, is usually the most straightforward way to get a well-lit picture. But backlight or semi-backlight on a cat’s fur creates a rim lighting effect, which outlines the cat in light and makes it appear to glow.

Pro technique: Dealing with backlight/semi-backlight

Light shining from behind the cat makes it appear darker. Here are two ways to handle it. Assess the situation and see what suits you.


Solution 1: Expose so that the cat looks brighter

R in 1.6x crop mode/ RF24mm f/1.8 Macro IS STM/ FL: 38mm equivalent/Aperture-priority AE (f/4, 1/30 sec, EV+0.7)/ ISO 100

- How: Use exposure compensation or adjust the ISO speed.
- Pros: Brighter cat straight out of the camera
- Cons: Background details might become overexposed (Depends on the scene)
- Note: Works best for low contrast scenes where most of the background isn’t too bright.

Useful camera features: Spot metering, exposure compensation, Highlight Tone Priority


Solution 2: Shoot in RAW, expose to the right, edit to recover details
 

Trước
Sau khi xử lý hậu kỳ

EOS R50 V/ RF-S55-210mm f/5-7.1 IS STM/ FL: 55mm (88mm equivalent)/ Aperture-priority AE (f/5, 1/640 sec, EV-0.7)/ ISO 1600

- How: Enable RAW shooting. Underexpose slightly to preserve highlight details.
- Pros: Preserves highlight details. More control over brightness balance.
- Cons: Need to edit image before sharing. The photo will look too dark in the camera. 
- Note: Works especially well for scenes with a very bright background. Use the histogram to ensure you don’t blow out the highlights.

Useful camera features: Spot metering, exposure compensation, histogram

4. Look for backgrounds that create glittery bokeh bubbles

EOS R8/ RF70-200mm f/2.8L IS USM/ FL: 135mm/ Manual exposure (f/2.8, 1/1000 sec)/ ISO 1000

Backlight can create something else: a background with sparkly bokeh bubbles.

- Step 1: Look for a background with point light sources, such as sunlight shining through leaves or fairy lights at night. Tip: For better results, they should be further away. They won’t get blurred out sufficiently if they are too near the cat.

- Step 2: Use a low f-stop (smaller f-number). The lower the f-stop, the bigger the bokeh balls!

Also see:
4 Easy Steps to Capture Those Elusive Bokeh Circles!

To elevate the shot, turn the foreground into bokeh too. Find a foreground you can shoot through, and shoot close to it. How close it needs to be depends on your lens’ closest focusing distance : anything nearer than that will be blurred out!

Ideas for foregrounds:
- Grass: Light reflecting off grass (especially wet grass) can create bokeh bubbles, too!
- Flowers: Great for adding a pop of colour

tip

Gear tip #3

Use a fast telephoto lens for best results

Telephoto lenses  naturally have a shallow depth of field, which you can use to blur out backgrounds and foregrounds easily. Use a faster lens (one with a larger maximum aperture)  like the RF70-200mm f/2.8L IS USM  for enhanced results. While there are other ways to maximise bokeh, the easiest way is to use a lower f-stop.

5. Incorporate environmental details

This tip takes more observation skills. Instead of blurring out the surrounding environment, see how you can compose the shot so that the surroundings contribute to the image. It all depends on the scene—and your creativity! Here are some examples.

Leading lines and complementary colours

EOS R6 Mark II/ RF15-35mm f/2.8L IS USM/ FL: 15mm/ Manual exposure (f/4, 1/640 sec)/ ISO 800

In the above example, the orange on the cat’s fur stands out in strong contrast against the blue background: colour theory in action through complementary colours. Including the railings on both sides creates a frame that simultaneously keeps our attention on the cat and gives the image a sense of depth, while the steps give texture and visual interest.


Diagonals and aperture control

EOS R6 Mark II/ RF15-35mm f/2.8L IS USM/ FL: 16mm/ Manual exposure (f/5, 1/640 sec)/ ISO 800

You know a cat is about to climb when it crouches, flattens its back, and looks upward at its “target” position! Tree branches often form diagonal lines—see how you can use them in your composition.  This shot was “purrfect” because the cat’s body forms a diagonal too.

Flowers and leaves are great for adding colour to the frame. Consider how much background detail you want retain and adjust the aperture accordingly. Here, the photographer used f/5. This blurs the flowers just enough to make the cat stand out while preserving the shapes of the flowers and their dark pink centres.

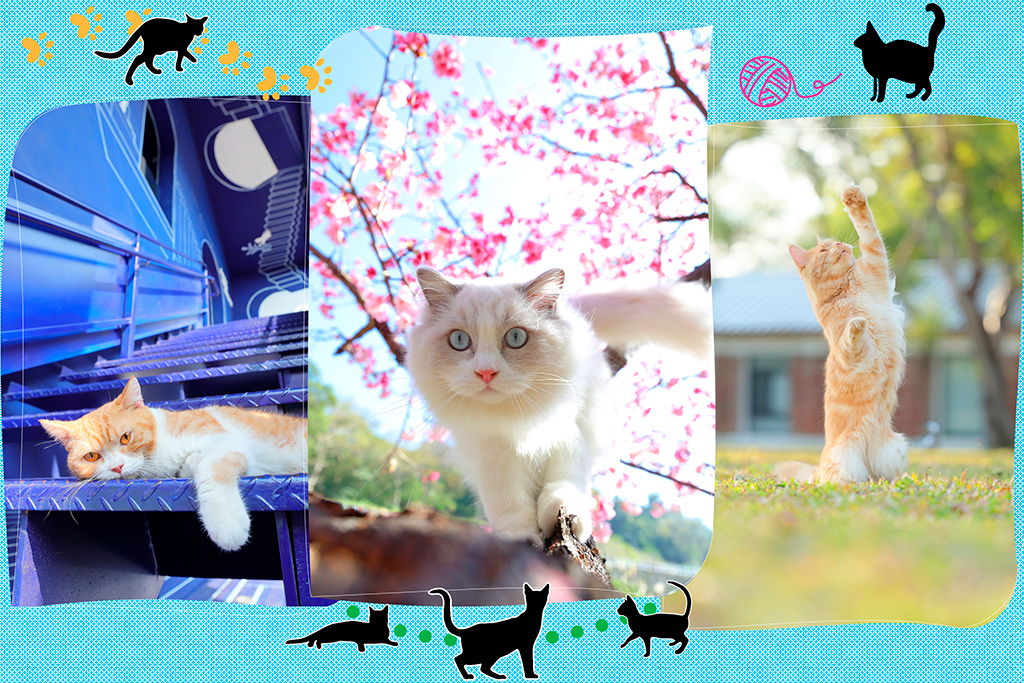
Bonus: Cat photography basics

1. Which lens should I use?

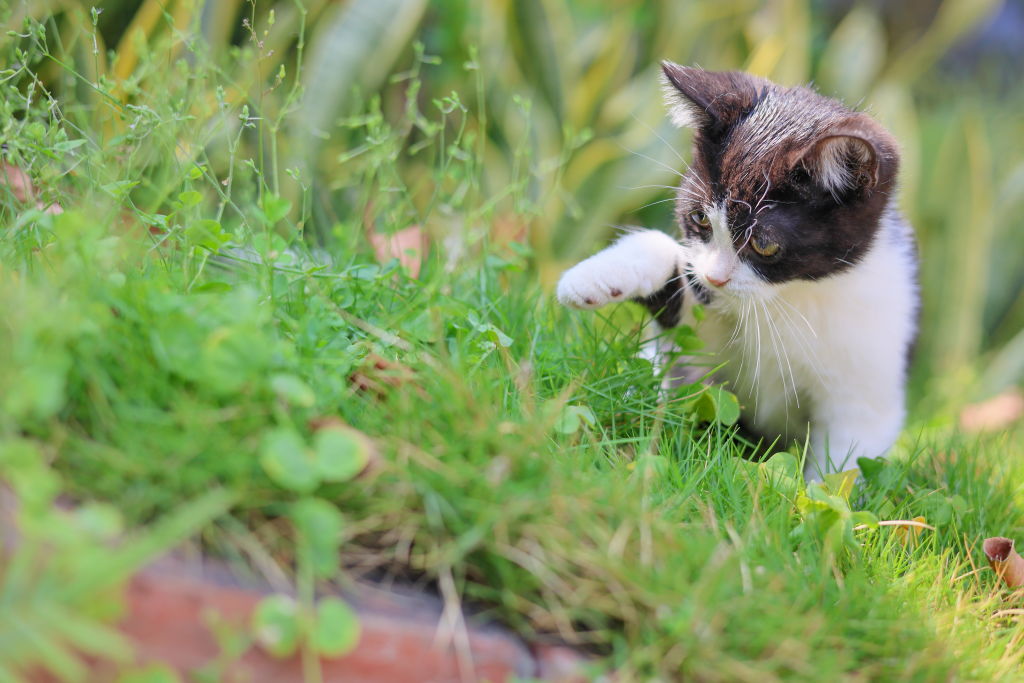
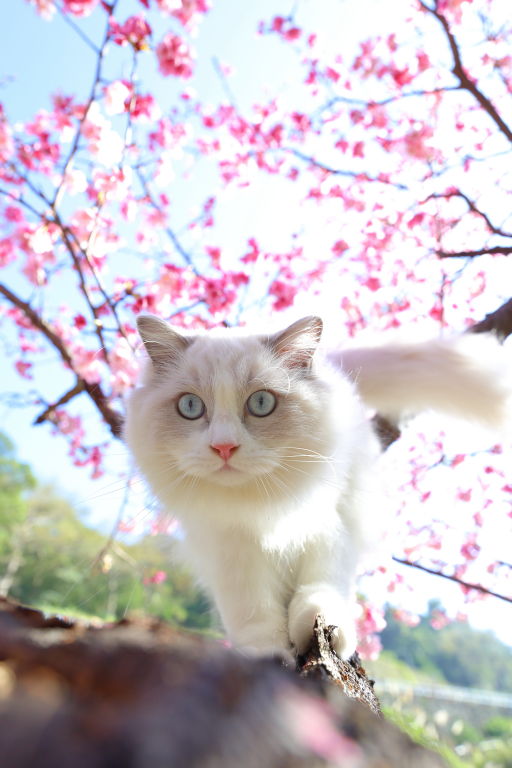
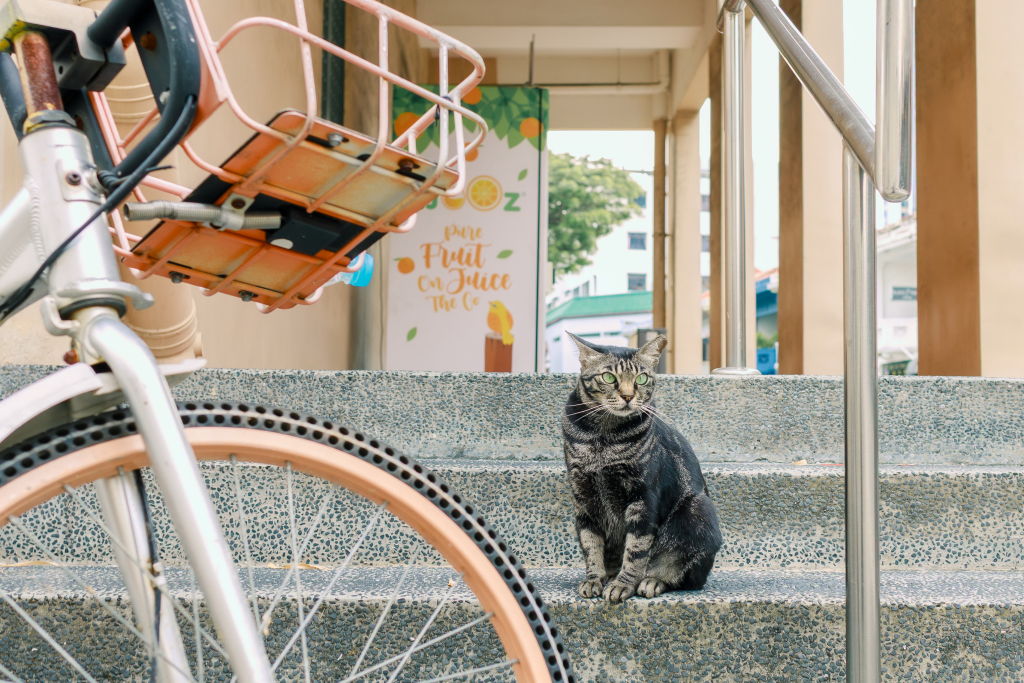
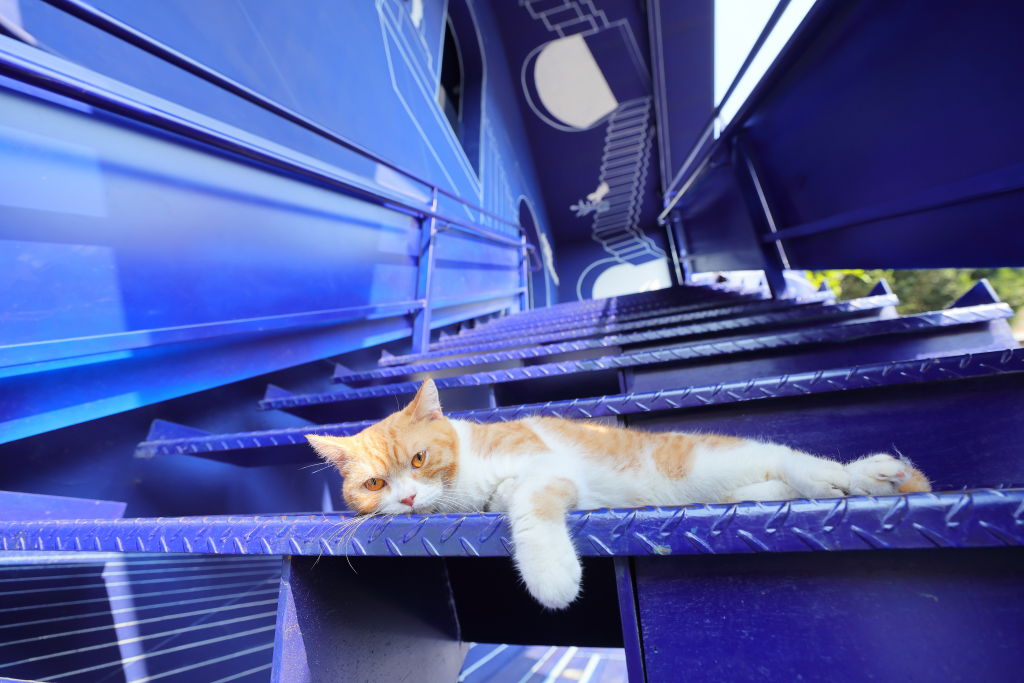
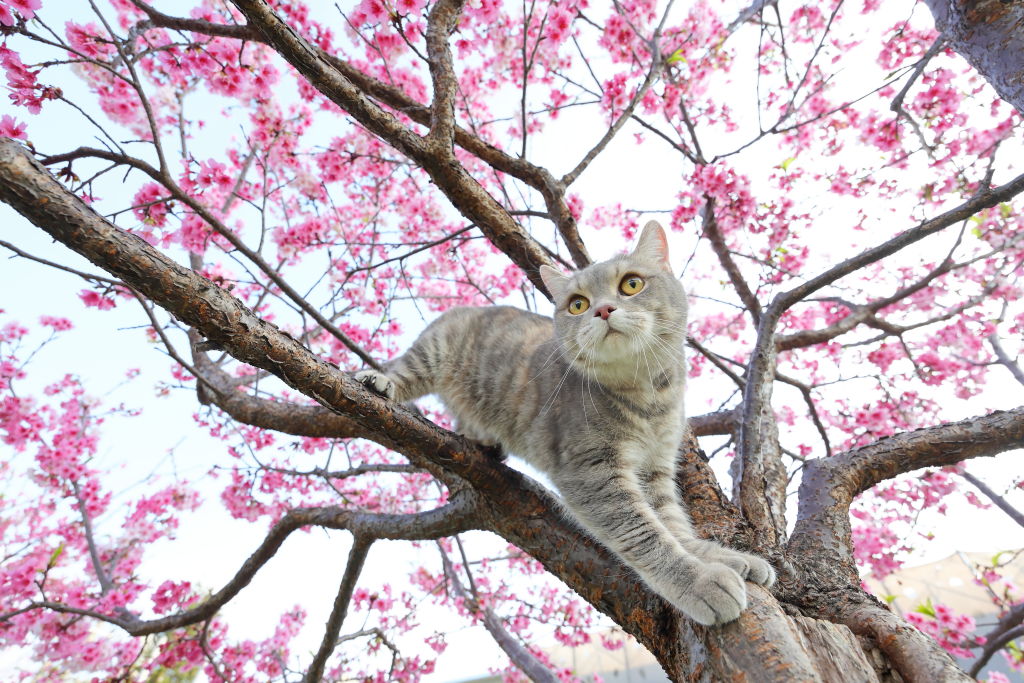
The images in this article were captured with a variety of lenses, so ultimately, it really is about how close the cat allows you to get and the kind of picture you want to achieve. Respecting the cat’s space takes priority! If you’re photographing strays or an unfamiliar cat, it’s good to start with a telephoto lens for closeups, and around 50mm if you want to show more of the environment.

Also see:
Expert Shares: Tips & Techniques for Unique Cat Photos
4 Lens Concepts to Revolutionise Your Photos


2. What camera functions should I enable?

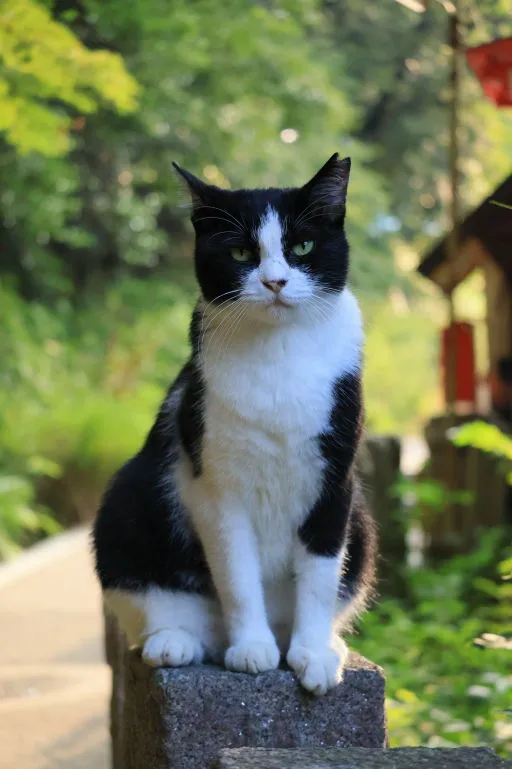
In the AF menu, make sure the following are enabled:
- AF operation: Servo AF 
- Subject to detect: Animals
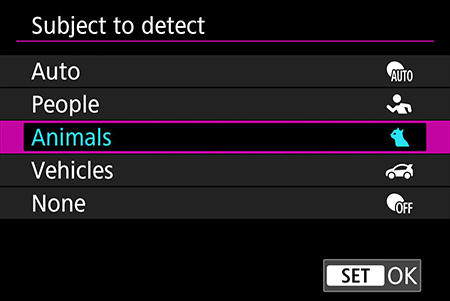
- Eye Detection
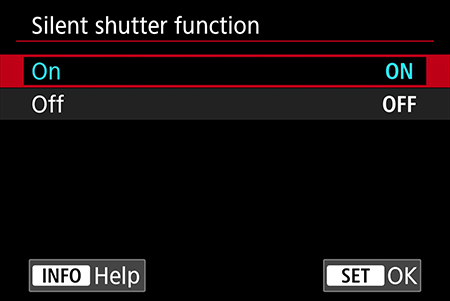
These settings will enable the camera to detect and focus on the cat, including its eyes, and track it even if it moves. Shooting in silent shutter mode helps, too.


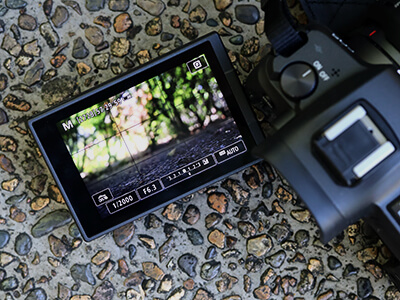
3. What exposure settings should I use?

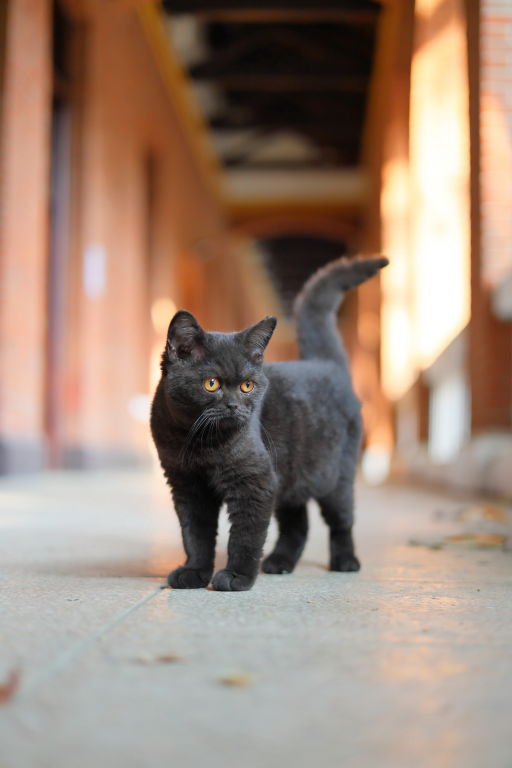
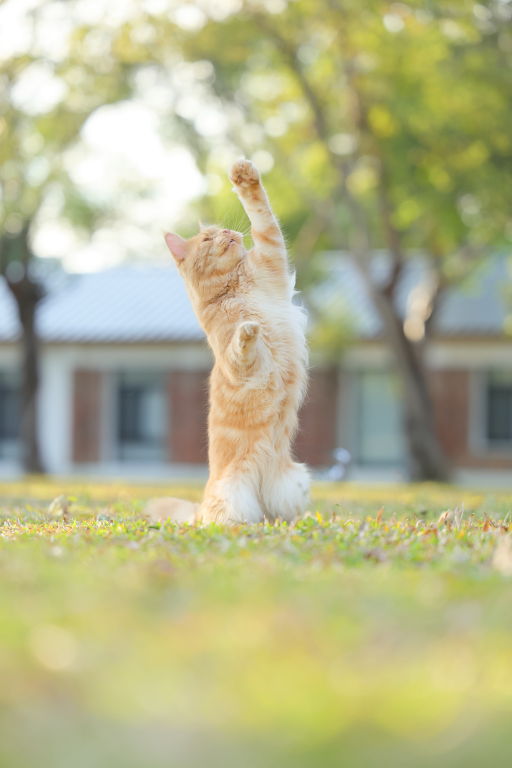
The ideal shutter speed depends on how active the cat is. Cats are unpredictable, so generally you’ll want to use a shutter speed of around 1/500 seconds to freeze them in action. If the cat is playing or being very active, use a shutter speed that’s even faster: try around 1/1000 seconds. If the cat is sleeping, or if you’re very sure it’s not going to move at all, you can go slower than 1/500 seconds if necessary.

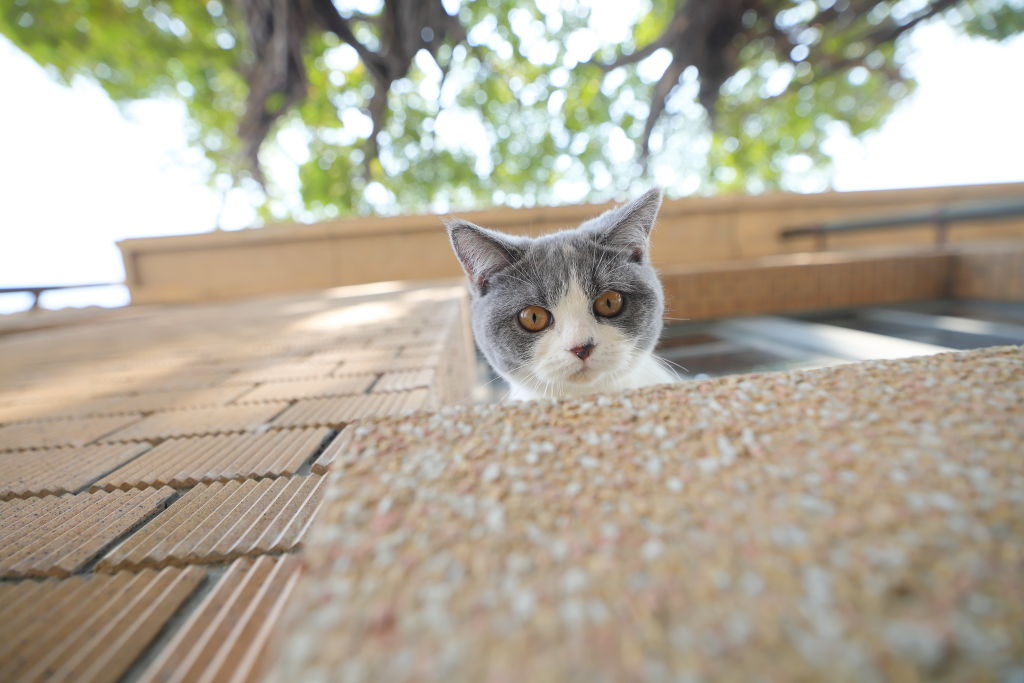
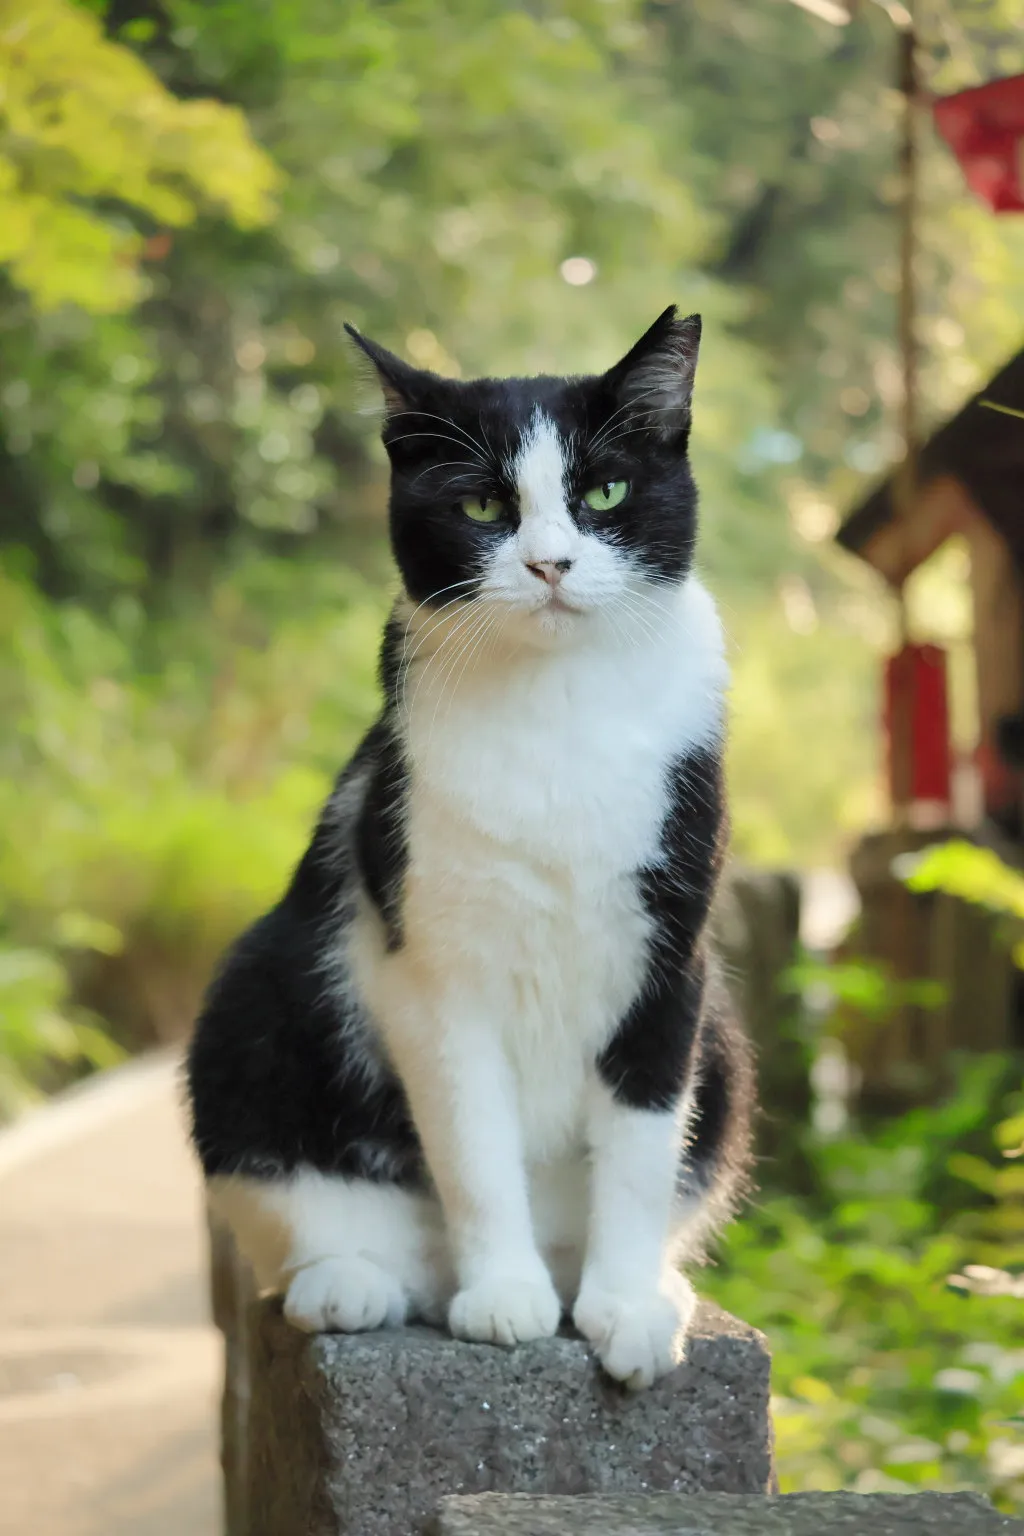
Your aperture setting depends on how much background blur you want.

- If background blur isn’t a priority: Match the aperture setting and ISO speed to the shutter speed you’re using. Feel free to use Shutter-priority AE mode to balance out the settings more quickly!
- If background blur is a priority: Two options
a) Use Aperture-priority AE mode and set the lowest f-stop possible. Ideal for bright places; the shutter speed might become too slow in low light situations.
b) Use Manual exposure mode and ISO Auto.  Set the f-stop and shutter speed as desired.

You May Also Like

Lens Basics #3: Creating Bokeh

Beginner

25 October 2024

  • 0 views
  • 0 like

3 Types of Dog Portraits to Capture with Animal Detection AF

Beginner

27 January 2021

  • 0 views
  • 0 like

5 Tips for Better Subject Detection and Tracking

Beginner

5 June 2023

  • 0 views
  • 0 like

Author

Snapshot

Join the Conversation

0 Comments