Capturing a beautiful rainbow that shows up in the sky isn’t that difficult as long as you pay attention to where the rain is falling and the angle of the sunlight. In the following, let us take a look at some techniques employed by professional photographers for photographing rainbows. (Reported by: Toshiki Nakanishi)
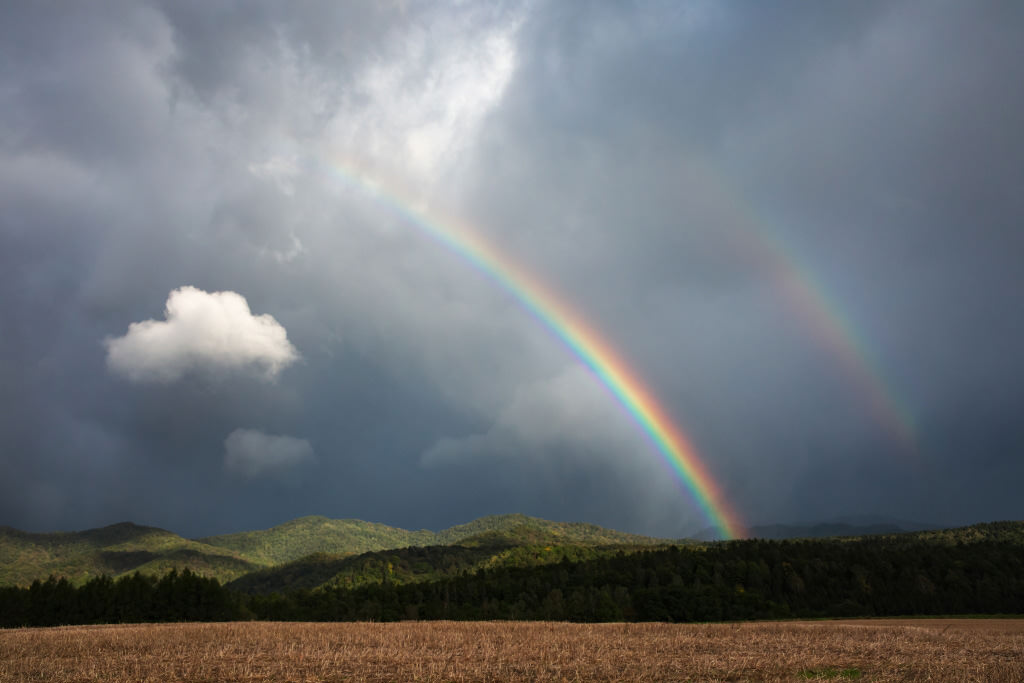
EOS 5D Mark IV/ EF24-105mm f/4L IS II USM/ FL: 35mm/ Aperture-priority AE (f/11, 1/320 sec, EV±0)/ ISO 800/ WB: Daylight
The weather had been bad since morning on the day of the shoot, with curtains of rain sweeping in from the west one after another. Fortunately, there was a small break in the clouds in the direction of the rising sun, so I pointed the camera toward the west and waited for a rainbow to appear when sunlight streams through the clouds.
Tip #1: Shoot in the morning or evening, when the rainbow is at its highest
Rainbow is a scientific phenomenon that takes place when sunlight falls on a curtain of rain. In other words, if we pay attention to the position of the rain and the angle of the sunlight, we can predict where the rainbow will appear. In the morning or evening when light rays shine from a low oblique angle, a rainbow will be formed high up in the sky. Meanwhile, light rays at noon time would create a rainbow that is close to the ground.
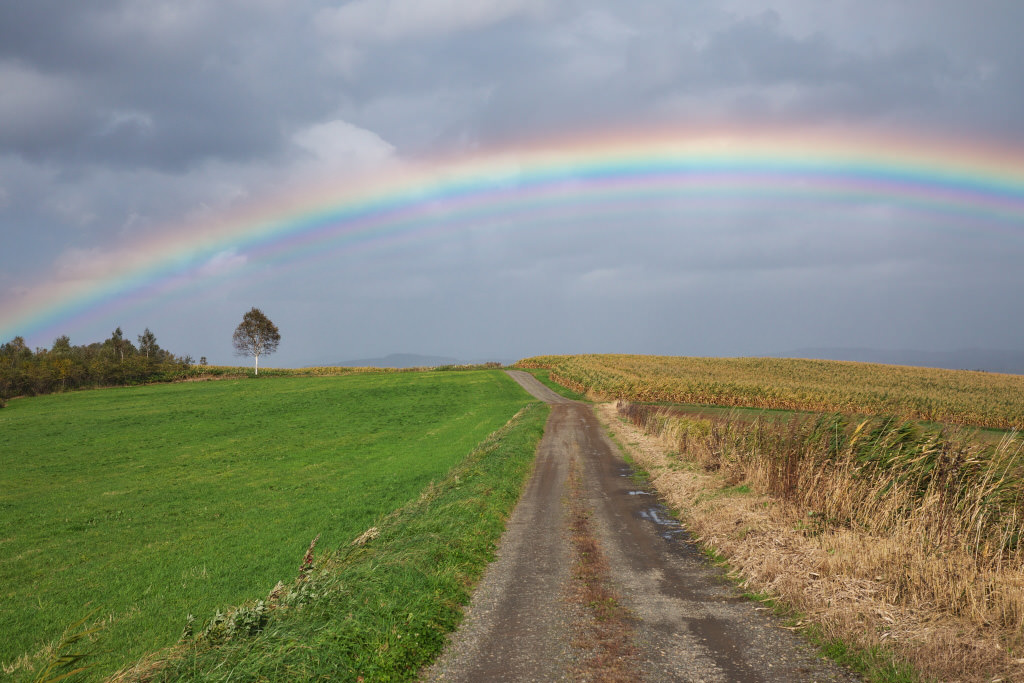
EOS 5D Mark IV/ EF24-105mm f/4L IS II USM/ FL: 60mm/ Aperture-priority AE (f/11, 1/320 sec, EV±0)/ ISO 400/ WB: Daylight
Light rays from a high angle form a rainbow that is closer to the ground
Light rays at noon time that are coming from a high angle form a rainbow at a low position that is close to the ground. In other words, you can capture rainbows appearing at different heights at different times of the day.
Tip #2: Use a PL filter to bring out the colours of the rainbow
By controlling the reflected light with a polarising (PL) filter, the colourful rainbow that is formed by the prism effect can be rendered more impressively. The effect of a PL filter is particularly noticeable when you capture just one end of the rainbow arch. Note that the PL filter must be detached if you want to photograph the entire arch as only half of it will be captured in the resulting image.
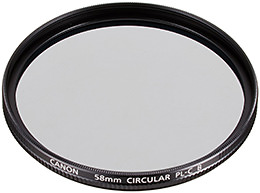
77mm Circular Polarizing Filter PL-C B
Other tips and ideas on photographing rainbows:
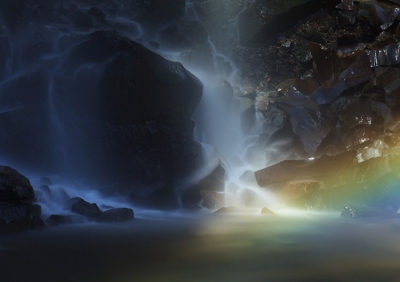
Waterfall Photography: Accentuating Your Photo with a Rainbow
Camera Settings for Capturing Fleeting Moments in Landscape Photography
Camera Settings for Capturing Decisive Moments: An Airplane Flying Past a Rainbow
More on using polarizing filters:
Using Lens Filters: 2 Techniques from Professional Photographers
Using a Polarizing Filter to Depict the Sky in a Deeper Shade of Blue
Receive the latest updates on photography news, tips and tricks by signing up with us!


.jpg)
Join the Conversation