[Part 2] Bounce Flash Photography – Change Color Using White Balance Settings
Beginner
Here in [Part 2], let's see how you can change the atmosphere of the image

- 0
- 0
- 0
Here in [Part 2], let's see how you can change the atmosphere of the image
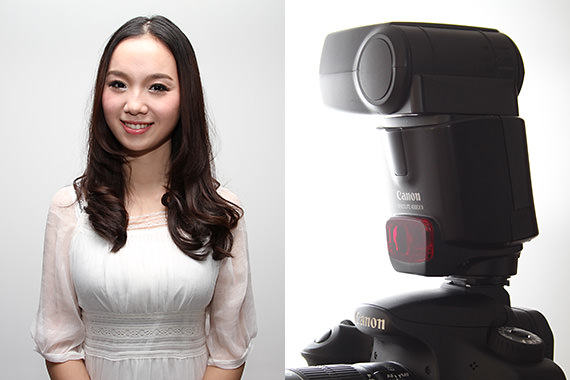
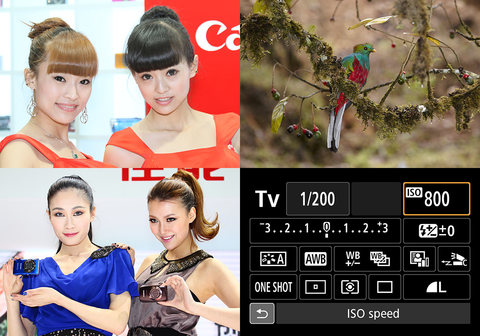
Here in [Part 2], let's see how you can change the atmosphere of the image by selecting different white balance settings. Bounce flash photography is especially effective when you are shooting indoors as it makes use of light reflected from objects such as the wall or ceiling, instead of firing the flash directly at the main subject. This technique of reflection helps to diffuse the flash light, creating a soft and natural atmosphere. (Reported by: Koji Ueda)
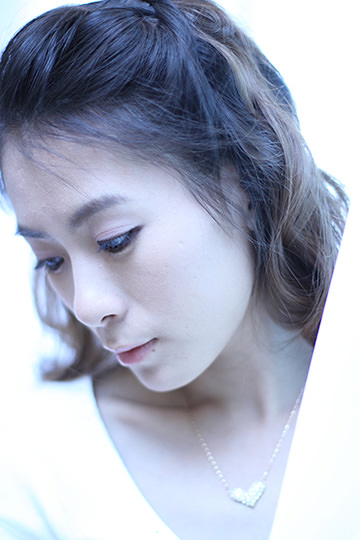
EOS 7D/ EF50mm f/1.4 USM/ Aperture-priority AE (1/100 sec., f/1.4)/ ISO 100/ Exposure
compensation: +1/ WB: Tungsten light/ Speedlite 580EX II (Flash mode: E-TTL)/ Flash exposure compensation: +2
In flash photography, you can also alter the white balance setting to adjust the color of the photo you capture. In this example, I wanted to create a cold impression, so I selected the [Tungsten light] white balance setting to add a bluish tone. Also, to weaken the shadow, I fired the Speedlite with the flash head facing the ceiling, and captured the shot with the subject enveloped in the soft diffuse light.
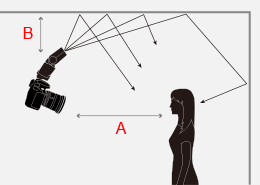
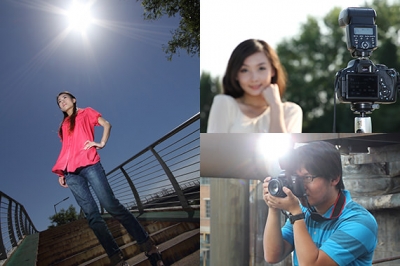
A: Approx. 1.5m
B: Approx. 1m
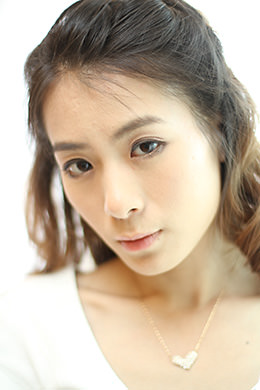
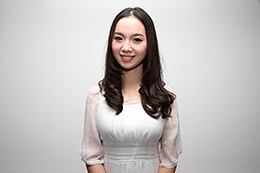
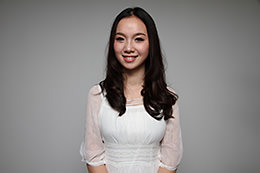
Natural light penetrates through the thin, white curtain in this scene taken by the window. Here, I set the white balance setting to [Tungsten light]. I attached the Speedlite to the hot shoe, and adjusted the bounce flash angle with the flash head pointing toward the ceiling. I composed a handheld shot with the camera directly facing the female subject.
* EOS 600D is used for illustration.
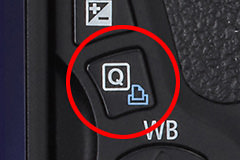
Press the Quick Control button to display the Quick Control screen.
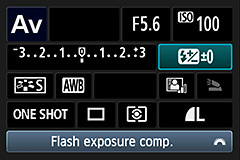
Operate the cross keys or Multi-controller to select the Flash exposure compensation icon, followed by pressing the [SET] button.
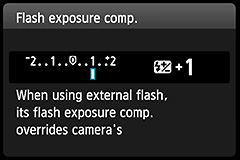
Use the cross keys or Main Dial to set the compensation value.
* EOS 5D Mark II is used for illustration.

Press the [MENU] button and select [External Speedlite control], followed by pressing the [SET] button.
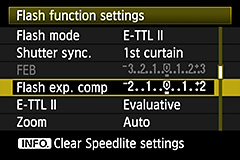
Select [Flash exposure compensation] and press the [SET] button. The setting screen for flash exposure compensation appears.

Select a flash exposure compensation value, and press the [SET] button.
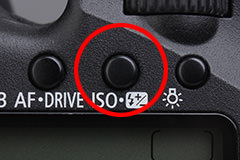
Press the Flash exposure compensation button located at the top of the LCD panel.
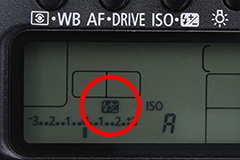
Flash exposure compensation icon appears in the LCD panel.
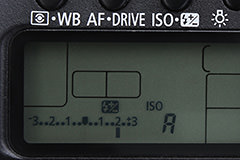
Turn the Quick Control Dial to set the flash exposure compensation value. Turn it to the right to increase the amount of compensation, and to the left to decrease.
Distance to the model is about 1.5m. The Speedlite is at 45 degrees angle toward the ceiling which is about 1m away. You can see that the background of the model is brightened effectively.
Taken from the same position as the left sample, bounce angle is set to about 65 degrees. Light from the Speedlite is not sufficient and the background turned out dark.
In bounce flash photography, the bounce flash angle affects how the resulting image appears, such as the shadow of the subject and the brightness of the background. Try taking a few test shots using different bounce flash angles to find the best angle.
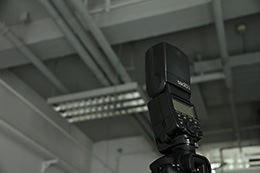
Take note that when the bounce surface is too far away from the Speedlite or not flat, bounced light cannot be used effectively.
To perform bounce flash photography, make sure that the Speedlite is not positioned too far away from the reflecting surface, such as the wall or ceiling. Due to the diffusive nature of light , the amount of light that falls on a single point decreases as you move further away, and this weakens the effect of the bounce flash. In other words, a closer distance to the reflecting surface allows you to make better use of the bounce flash light. Upon gaining an understanding of this principle, you will be able to control the amount of light and the shadow created on the subject by adjusting the distance from the Speedlite to the ceiling or wall.
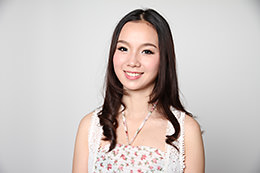
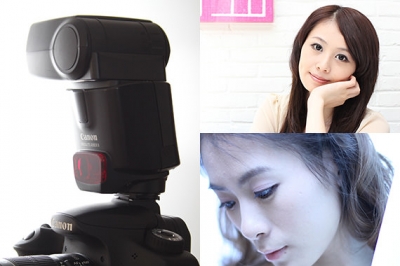
Bounced using a white wall. Skin tone of the model is reproduced beautifully.
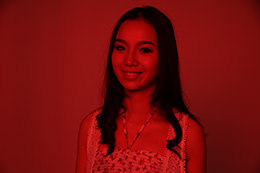
Bounced using a red cloth. The color is tinted to red. You may use this technique instead to produce a unique atmosphere.
One of the basics in bounce flash photography is to choose a white surface for reflecting the flash light. If there is no white wall or ceiling, you can also make use of a white curtain or the white reverse side of a calendar. Using a colored surface may cause the color to appear as color cast on the resulting photo. That being said, however, it is also possible to use such a color cast phenomenon intentionally for your photographic expression.
In still photography using a Speedlite, select the Aperture-priority AE mode to ease control of the depth of field. In this example, I chose an aperture value that allowed focus to be established in the area from the wine glass to the wine bottles. Note that firing the flash with the flash head of the Speedlite facing the front of the glass and bottles would cause reflection from their surface, and the resulting shot would not look as attractive. Here, I directed the flash light at the white wall beside the wine glass. Using diffuse light helps to create a stately ambience.

Born in Hiroshima in 1982, Ueda started his career as an assistant for photographer Shinichi Hanawa. He later became a freelance photographer, and is now engaged in a wide range of work from magazines to commercials while shooting different cities and landscapes all around the world. He is also a writer and a lecturer at photography lectures and workshops.


Join the Conversation