Take fuller advantage of the magic hours
Sunrise
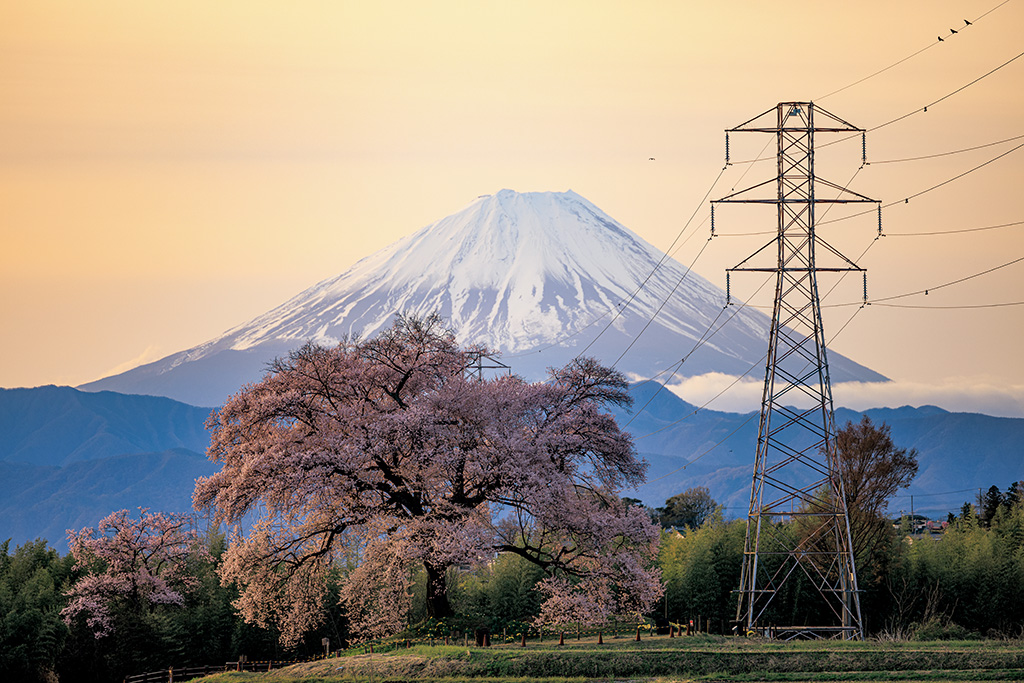
EOS R5/ RF70-200mm f/2.8L IS USM/ FL: 200mm/ Aperture-priority AE (f/2.8, 1/100 sec, EV-0.3)/ ISO 100/ WB: Auto
Sunset
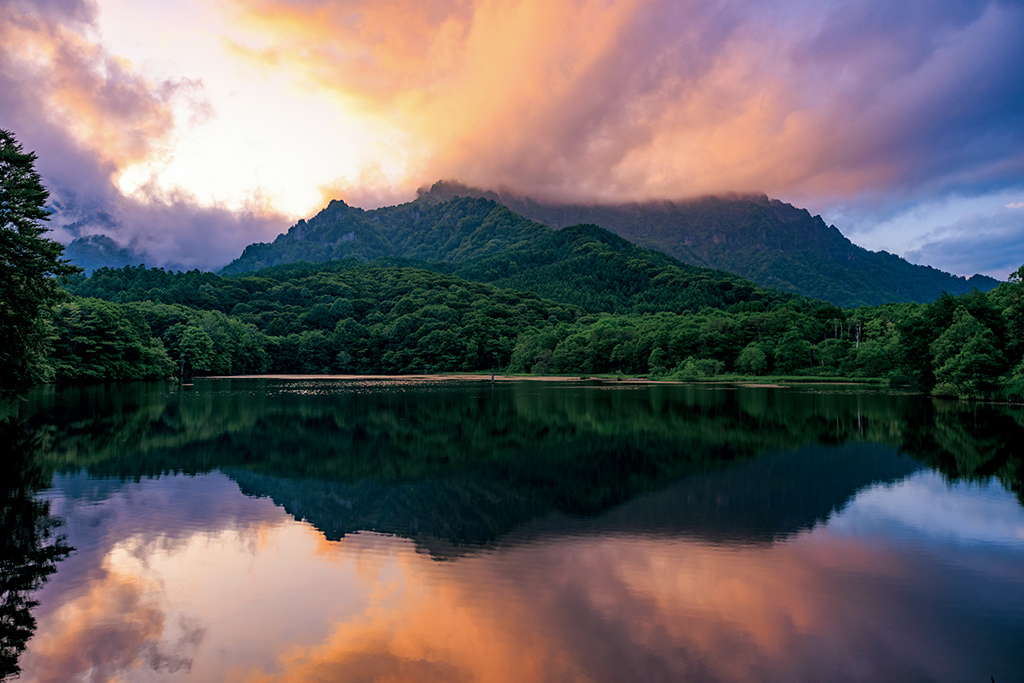
EOS R5/ RF24-70mm f/2.8L IS USM/ FL: 29mm/ Aperture-priority AE (f/2.8, 1/60 sec, EV-1.3)/ ISO 160/ WB: Auto
The best times for outdoor photography are during the “magic hours”: the periods shortly before and after sunrise and sunset, including the “golden hour” and “blue hour”. The sun’s low position near the horizon not only tints the sky with stunning colours, it also results in beautiful soft lighting. However, these are also low light conditions that make achieving sufficient exposure challenging.
With their large maximum aperture, f/2.8 zoom lenses allow you maximise the light entering the lens. This gives more flexibility with exposure settings: you can shoot with a faster shutter speed to avoid camera shake in handheld shots, as well as use a lower ISO speed for cleaner image. The benefits are especially strong when using a telephoto lens, when a faster shutter speed is required to prevent camera shake compared to when shooting with shorter focal lengths.
Here are some magic hour landscape photography ideas to try out!
Idea 1: Play with contrast and colours
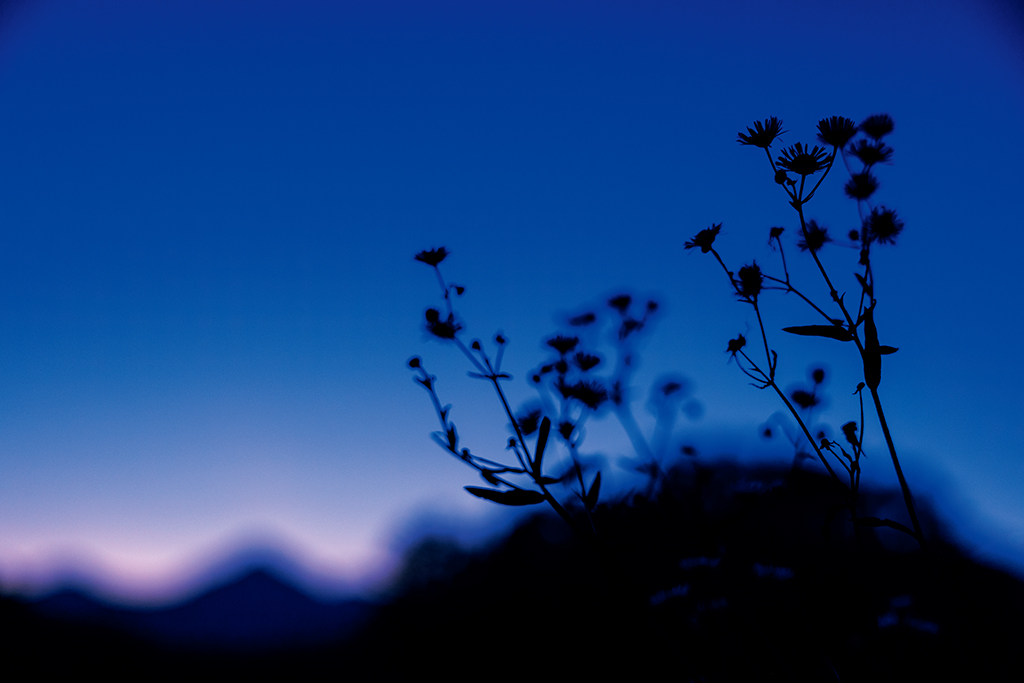
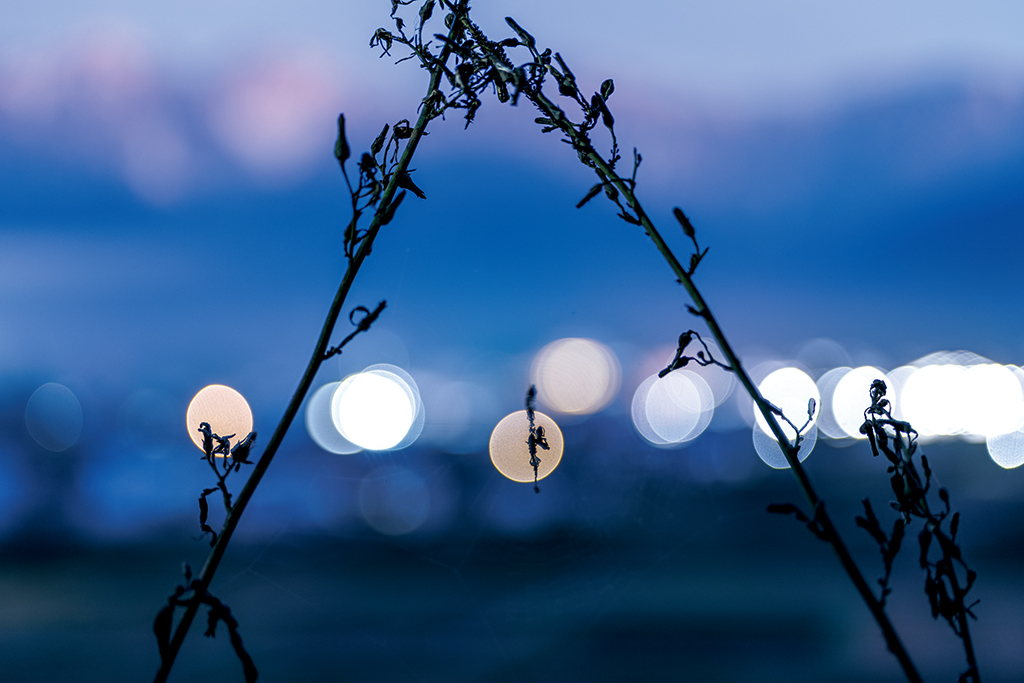
Dramatic: Darker exposure settings and bokeh
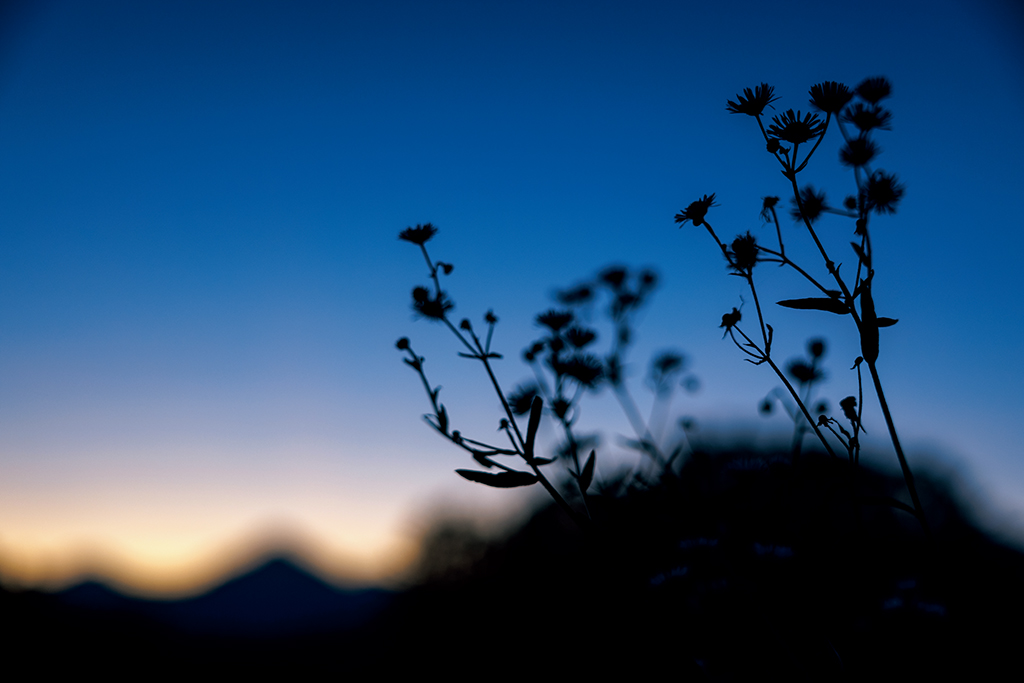
EOS R5/ RF24-70mm f/2.8L IS USM/ FL: 46mm/ Aperture-priority AE (f/2.8, 1/40 sec, EV-1.3)/ ISO 100/ WB: Manual
The ethereal colours created by the sun in the last moments of sunset form a dramatic backdrop for these flower silhouettes. I chose to use darker exposure settings and blur out the foreground, adding to the mysterious atmosphere.
Tip: Not using manual exposure mode? Use exposure compensation to adjust the brightness.
Soft and dreamy: True-to-life exposure for the sky
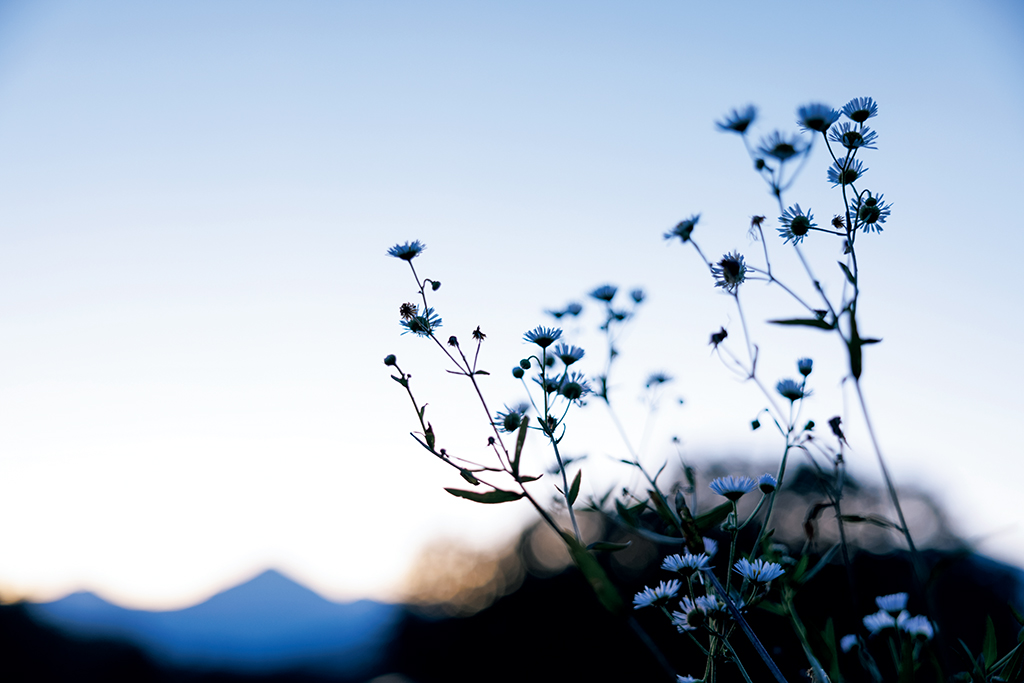
EOS R5/ RF24-70mm f/2.8L IS USM/ FL: 46mm/ Aperture-priority AE (f/2.8, 1/5 sec, EV+1.7)/ ISO 100/ WB: Manual
Here, I adjusted the exposure settings so that the sky’s brightness in the image more closely resembles what I saw in real life. This results in a brighter, dreamier look.
Tip: It might take some adjusting before you achieve the ideal balance. Use exposure compensation for an easier way to adjust brightness, check your Live View display, and take a few shots with different exposures.
Change the white balance for a different look
EOS R5/ RF24-70mm f/2.8L IS USM/ FL: 46mm/ Aperture-priority AE (f/2.8, 1/160 sec, EV-2)/ ISO 400/ WB: Manual
I manually adjusted the colour temperature to give this image cooler tones. Simply changing the white balance can alter the feel of an image tremendously!
Idea 2: Go reflection hunting
Water bodies are usually stiller in the early morning and evening due to less wind, making these low-light timings perfect for photographing reflections, too!
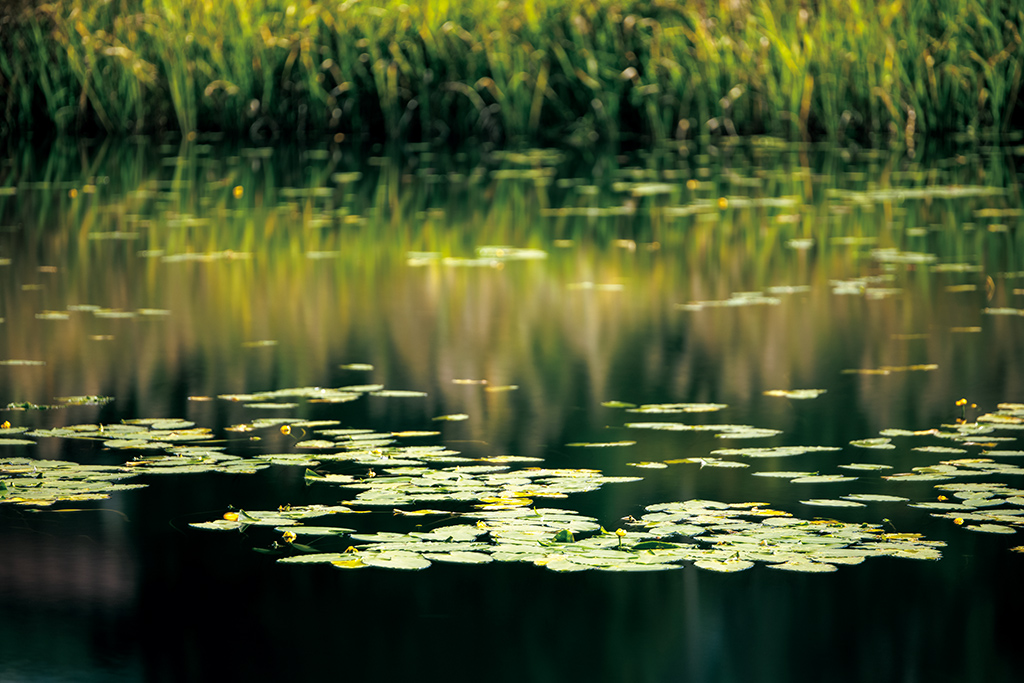
EOS R5 Mark II/ RF70-200mm f/2.8L IS USM/ FL: 200mm/ Aperture-priority AE (f/2.8, 3.2 sec, EV+0.3)/ ISO 100/ WB: Manual/ On tripod
You don’t always have to use a narrow aperture to photograph reflections. Here, the shallow f/2.8 depth of field puts the reeds in the background out of focus, blurring the lines between the foreground and background for an abstract effect. Make use of the zoom to experiment with different ways of framing. A shorter focal length could make the shot look more dynamic; a longer focal length draws more attention to details.
Pro tip 1: Aim for the moments with no wind
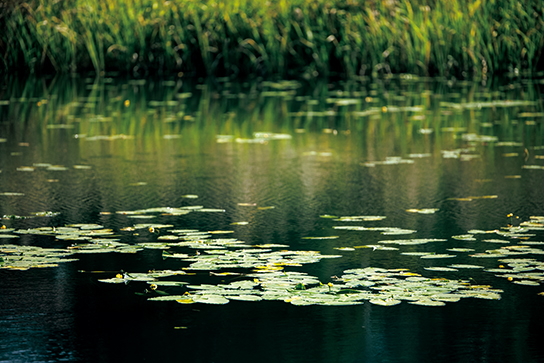
With slight wind
Avoid ripples by shooting when there’s no wind. Besides timing your shoot, look out for shooting spots that are less affected by wind, such as places nearer to shore.
Pro tip 2: Use a slow shutter speed
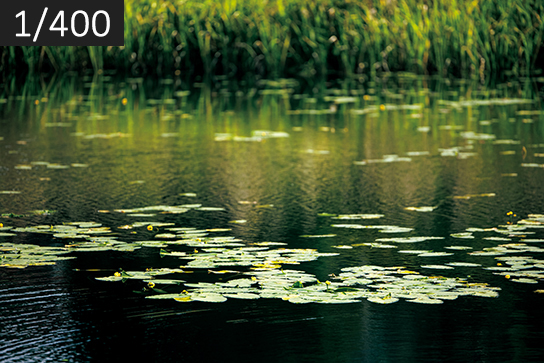
A fast shutter speed makes the image look stiff and unnatural. Use a slow shutter speed to smooth out water movement.
Idea 3: Incorporate urban lights
If you can see the lights of the nearest town from where you are, include them to add some dazzle to your night shot!

EOS R5/ RF70-200mm f/2.8L IS USM/ FL: 70mm/ Manual exposure (f/2.8, 15 sec)/ ISO 1600/ WB: Manual/On tripod
The low light benefits of an f/2.8 constant aperture zoom lens become more apparent for night photography. The zoom function lets you compose freely. Zoom out to capture impressive overviews, or zoom in to draw attention to specific subjects!
Turn light sources into bokeh circles
EOS R5 Mark II/ RF70-200mm f/2.8L IS USM/ FL: 70mm/ Aperture-priority AE (f/2.8, 13 sec, EV+0.3)/ ISO 100/ WB: Manual/On tripod
Turn point light sources from nearby civilisation into dreamy bokeh circles by using f/2.8 to put them out of focus. Use the Factors for Better Bokeh we learned in Part 1 to achieve an even dreamier feel!
Pro tip: Beware of blown highlights
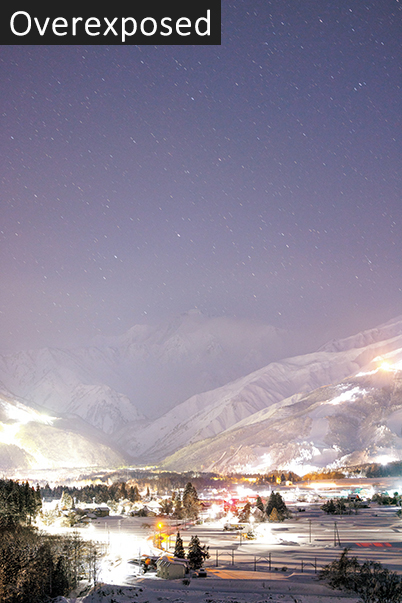
EOS R5/ RF70-200mm f/2.8L IS USM/ FL: 70mm/ Manual exposure (f/2.8, 30 sec)/ ISO 3200/ WB: Manual
Use the Highlight Alert function or histogram to find an exposure setting that won’t blow out highlight details beyond the point of recovery. (See: How to Avoid Unnecessary Blown Highlights)
Recap: Low light photography tips
- In low light, an f/2.8 zoom lens provides flexibility over both composition and exposure settings.
- Simple techniques to change your low light shots: Bokeh circles, change the white balance, change the exposure balance.
- Try water reflection photography: waters are stiller during low light hours (early morning and evening).
Recommended f/2.8 zoom lenses
f/2.8L trinity
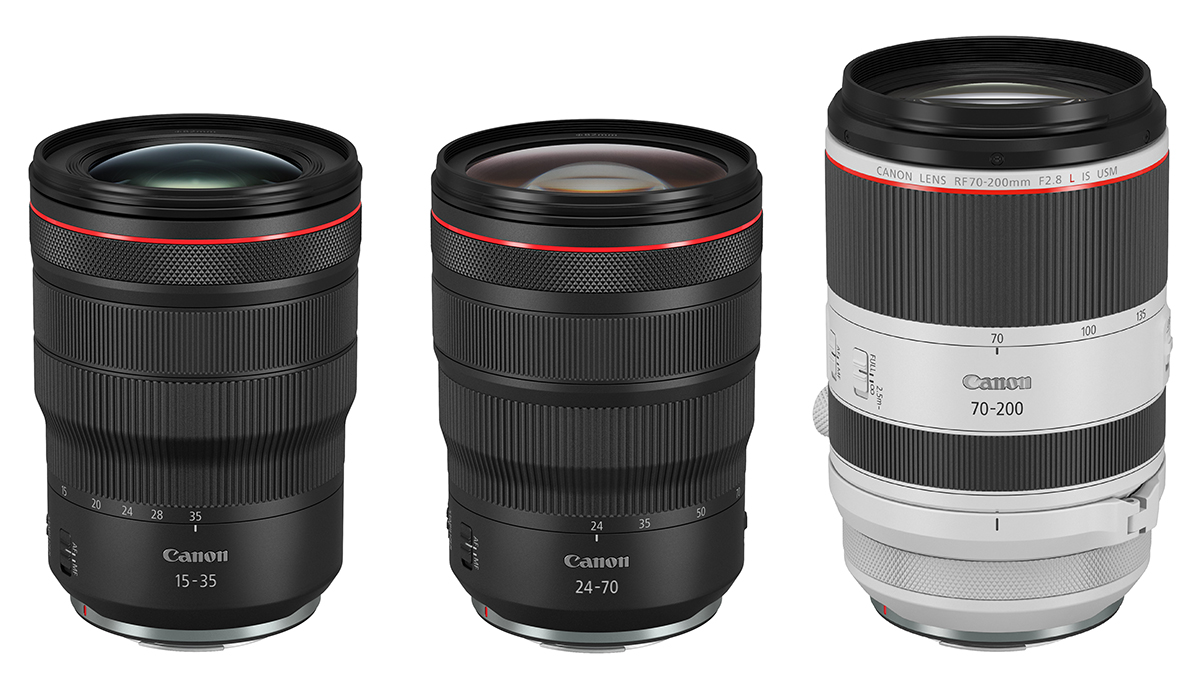
If you plan to invest in the best f/2.8 zoom lens available, these professional-grade L-series lenses offer a robust build with the best possible optical quality. They are the choice of many users who shoot for a living.
- RF15-35mm f/2.8L IS USM
- RF24-70mm f/2.8L IS USM
- RF70-200mm f/2.8L IS USM

These lenses are smaller, lighter, and designed to be more affordable to more people. They are also dust- and drip-resistant, though to a different degree compared to the L-lenses.
- RF16-28mm f/2.8 IS STM
- RF28-70mm f/2.8 IS STM


Join the Conversation