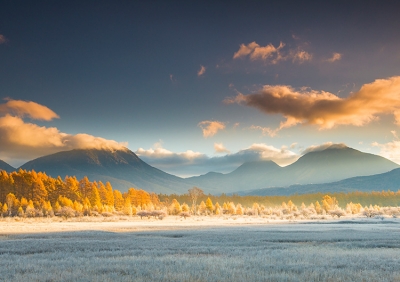
When photographing landscapes dyed in the crimson colours of sunrise, you only have a fleeting moment to capture the shot before the sky changes colour again. What kind of preparations should you make so that you don’t miss it? Makoto Hashimuki shares about how he managed to shoot this stunning image of terraced rice fields at sunrise. (Reported by: Makoto Hashimuki)
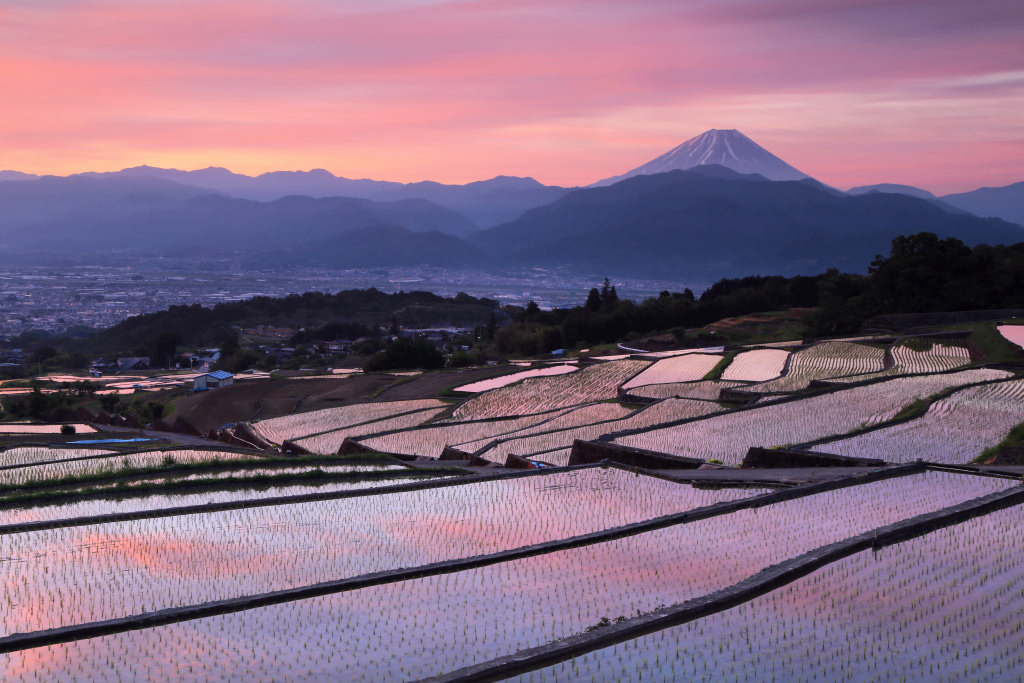
EOS 6D/ EF24-105mm f/4L IS USM/ FL: 45mm/ Manual exposure (f/18, 2 sec)/ ISO 100/ WB: Auto
Time of shoot: Early June
1. Used a graduated ND filter to balance the contrast between the sky and water surface
When your intended shot involves both the sky at sunrise and a water surface, you should ideally use a graduated neutral density (ND) filter on the sky so that it will have the same exposure as the water surface. For this image, this was especially important because the beautiful sunrise and the rice terraces were both points of interest, and so they had to draw equal attention from the viewers.
Shots taken at sunrise are prone to blowout in the sky, so also consider underexposing the shot a little. You can adjust the balance later with post-processing software such as Digital Photo Professional.
Failed shot: Not using an ND filter
In this shot taken with no ND filter, the exposure for the sky was more than what I had intended, which prevented the colours of sunrise from being depicted in their full glory. The colours that you see should ideally be reproduced with the same intensity in the image.
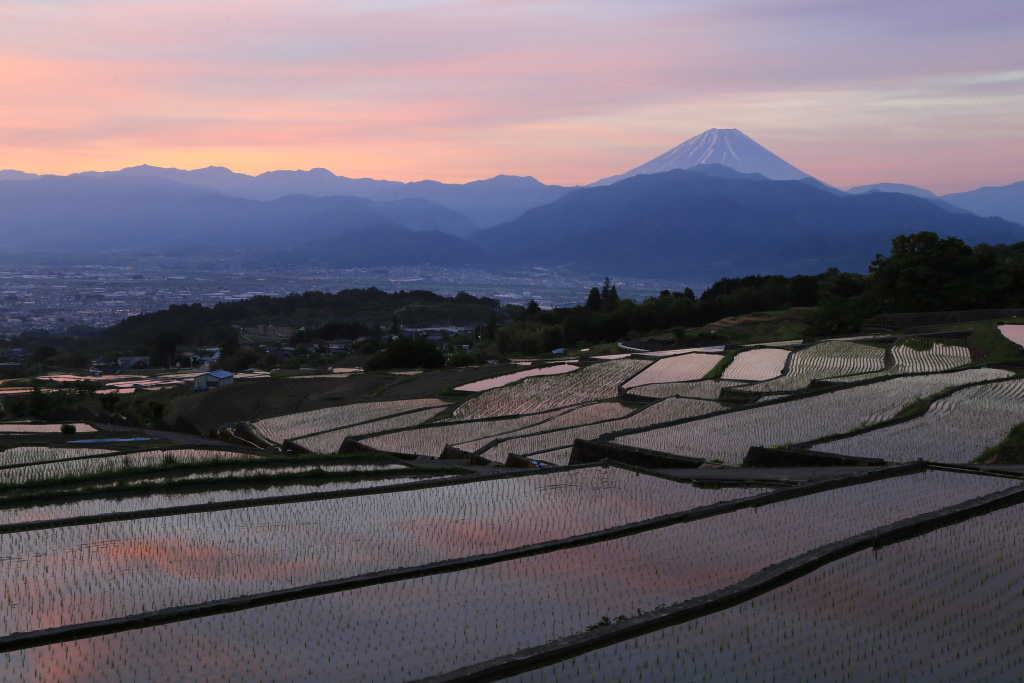
EOS 6D/ EF24-105mm f/4L IS USM/ FL: 45mm/ Manual exposure (f/18, 1.3 sec)/ ISO 100/ WB: Auto
For more tips on using lens filters, check out:
Using Lens Filters: 2 Techniques from Professional Photographers
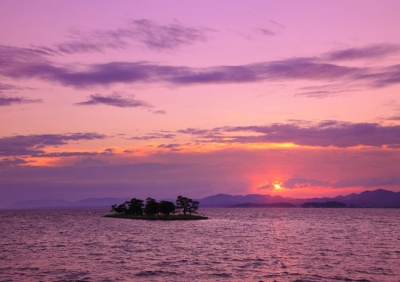
2. Blue hour is lovely too, but shoot it another day
The blue hour, which usually comes about 20 minutes before sunrise, can make for a beautiful scene, too, but capturing it requires very different camera settings. The sky is only red for a moment at sunrise, and any extra time spent on changing your settings could cause you to miss it. Be on standby around 1.5 hours before sunrise, but save the blue hour photography for another day—use that time to decide on your composition and ready your exposure settings for capturing the intended moment.
Failed shot: 20 min before sunrise
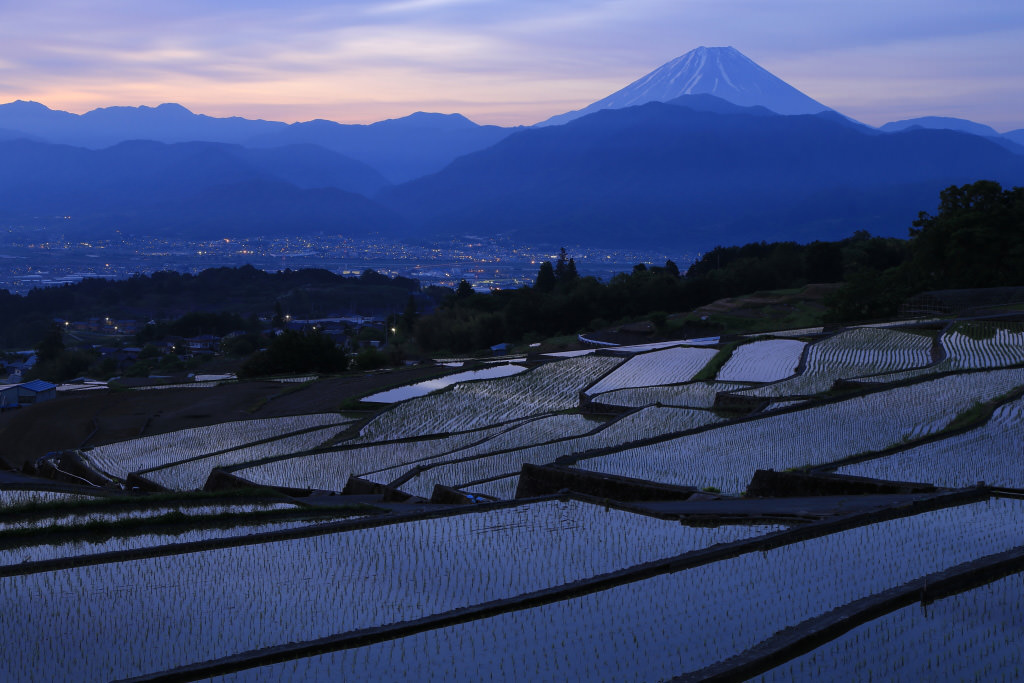
EOS 6D/ EF24-105mm f/4L IS USM/ FL: 60mm/ Manual exposure (f/10, 15 sec)/ ISO 100/ WB: Auto
This is a lovely scene in its own right, but it was taken too early and was not the sunrise shot I had intended to take. By this point in time, I should ideally have finished my prep work and been waiting for the right moment where the sky turns red.
Here are more ideas for photographing landscapes in the early morning:
Early Morning Landscape Photography: To Shoot Before or After Sunrise?
Capturing Breathtaking Landscapes Under Ever-Changing Lighting Conditions
Receive the latest update on photography news, tips and tricks.
Be part of the SNAPSHOT Community.
Sign Up Now!


.jpg)
Join the Conversation